

Last Updated: November 9, 2026
Quick Summary
Layered crystal necklaces tangle because their chains move freely against each other, so the fix is spacing rather than luck. Leave a two-inch gap between each chain length, give every layer its own zone and anchor point, and put heavy pendants on the longest layer or a heavier chain.
- Start with your shortest piece as the base layer, then step down in two-inch increments.
- Three necklaces is the sweet spot for depth without clutter and is easier to control than five or six.
- Attach each chain to a different ring on a necklace layering clasp, not all to one ring.
- Put your heaviest pendant on the strongest chain and keep fine chains for light, flat stones.
- Fasten each chain before packing it and lay each necklace in its own pouch or compartment.
Table of Contents
- Why Crystal Necklaces Tangle and What Actually Prevents It
- How to Layer Necklaces with Different Lengths
- How to Layer 3 Necklaces Without Tangling
- Using a Necklace Layering Clasp to Keep Chains Separate
- Mixing Chain Weights, Textures and Crystal Pendants
- How to Keep Necklaces from Tangling When Traveling
- Troubleshooting Tangles, Twists and Skin Sensitivity
- Build Your Layered Crystal Set with Oak & Quartz
- Frequently Asked Questions
Why Crystal Necklaces Tangle and What Actually Prevents It
Learning how to layer crystal necklaces without tangling comes down to one truth: layered crystal necklaces tangle because their chains move freely against each other.
Two chains of the same length sit side by side all day. Every breath and turn of your head slides them together. Without a gap, they twist into a knot.
The fix is simple: give each chain its own zone and its own anchor point.
Necklace layering that holds up all day also depends on weight and stone shape. A heavy pendant swings and pulls its chain into its neighbor.
- Same length = guaranteed tangling
- Heavy pendant = more swing, more knots
- Light chain next to heavy chain = the light one wraps first
How pendant weight and stone shape affect chain movement
A pendant acts like a pendulum. The heavier the stone, the wider the swing and the more it drags its chain into the next layer.
Stone shape matters too. Flat cabochons and slim drops sit close to the skin.
So pair bold stones with bolder chains. Keep your most delicate chains next to flat, low-profile pieces. That single habit prevents most tangles before they start.
How to Layer Necklaces with Different Lengths
Spacing is the whole game. The standard rule is a two-inch gap between each chain length.
Start with your shortest piece as the base layer. A gemstone choker sits high on the neck and anchors the whole stack.

A simple working formula:
- Layer 1: 16 inches, close to the throat
- Layer 2: 18 inches, at the collarbone
- Layer 3: 20 inches, below the collarbone
Check the clasp position before you commit.
Adjust your shortest chain first, then build down. Most tangles come from layers bunched too close together, not from too many layers.
A simple length formula keeps each layer in its own zone.
| Layer | Length | Placement |
|---|---|---|
| Layer 1 | 16 inches | Close to the throat |
| Layer 2 | 18 inches | At the collarbone |
| Layer 3 | 20 inches | Below the collarbone |
| Layer 4 (optional) | 22 inches | On the chest |
Length
How to Layer 3 Necklaces Without Tangling
Three is the sweet spot for a layered look. It gives you depth without clutter, and it is far easier to control than five or six chains.
A method for layering three necklaces:
- Lay all three chains flat on a table, side by side.
- Check the length gap between each one. Aim for two inches.
- Put on the longest chain first, then work upward.
- Tug each chain gently to its own zone.
- Turn your head side to side and watch for crossing.
A wire-wrapped pendant necklace makes a strong middle layer. The Rose Quartz Moon Wire Wrapped Necklace has a fixed pendant that sits close to the skin, so it will not swing into the chain above it.

Test the combination before you wear it for a full day
Most layering advice stops at "try it on." A short mirror check misses the movement that causes tangles. Use this repeatable test instead, and run it whenever you build a new three-piece set:
- The hang test. Put the set on and stand still for one minute. Note where each pendant rests. If two pendants sit within a half-inch of each other, the layers are too close and will cross.
- The turn test. Turn your head slowly left and right five times, then tilt your chin down and back up. Watch which chain moves first. The lightest chain is usually the one that wraps, so give it the most clearance.
- The reach test. Raise both arms overhead and lower them. A heavy crystal pendant will swing outward on the way down; if it lands on top of a finer chain, that pairing needs a wider gap or a heavier chain on the lower layer.
- The walk test. Walk around the room for two minutes, then check the clasp position at the back of your neck. If a clasp has rotated toward your shoulder, that chain is too loose for its layer and will twist.
- The remove-and-check test. Take the set off and lay it flat. Any chain that has developed a half-twist during the test will tangle within an hour of real wear. Fix the spacing before you wear it out.
A common pattern is that the middle layer causes most tangles, because it has a chain above and below it. If your test keeps flagging the middle piece, move it to the bottom and put a flat, low-profile stone in the center instead.
Match the construction, not just the length
Three necklaces at 16, 18, and 20 inches can still tangle if their constructions fight each other. Treat these pairings differently:
- Fine cable chain next to fine cable chain: low friction, but the lighter one wraps first. Separate them by at least two inches, or make one a beaded strand.
- Beaded strand next to a smooth chain: the beads grip the chain and can drag it out of place. Keep the beaded strand on the bottom layer, where its weight holds it steady.
- Heavy crystal pendant on a fine chain: the pendant swings and pulls the chain into its neighbor. Move that pendant to the longest layer, or swap it onto a heavier chain.
If two of your three chains are the same length, separate them another way. Use a connector or a different clasp point. Two identical lengths will always find each other.
Watch out: a pendant that sits flat on the table can still swing once you move, so judge the combination by the test, not by how it looks laid out.
Using a Necklace Layering Clasp to Keep Chains Separate
A necklace layering clasp is a small multi-ring clasp that holds several chains on one closure.
The trick most people miss: attach each chain to a different ring on the clasp, not all to one ring.
How to set it up:
- Clip the longest chain to the lowest ring
- Add the middle chain to the next ring up
- Attach the shortest chain to the top ring
A jump ring works the same way on a smaller scale.
This setup takes a minute to assemble and saves you from re-styling all day.
Mixing Chain Weights, Textures and Crystal Pendants
A layered stack looks better when the chains are not identical. Mix a fine cable chain with a slightly heavier one, or pair a smooth chain with a textured one.
Weight balance is the practical part. Put your heaviest pendant on the strongest chain, and keep fine chains for light, flat stones.
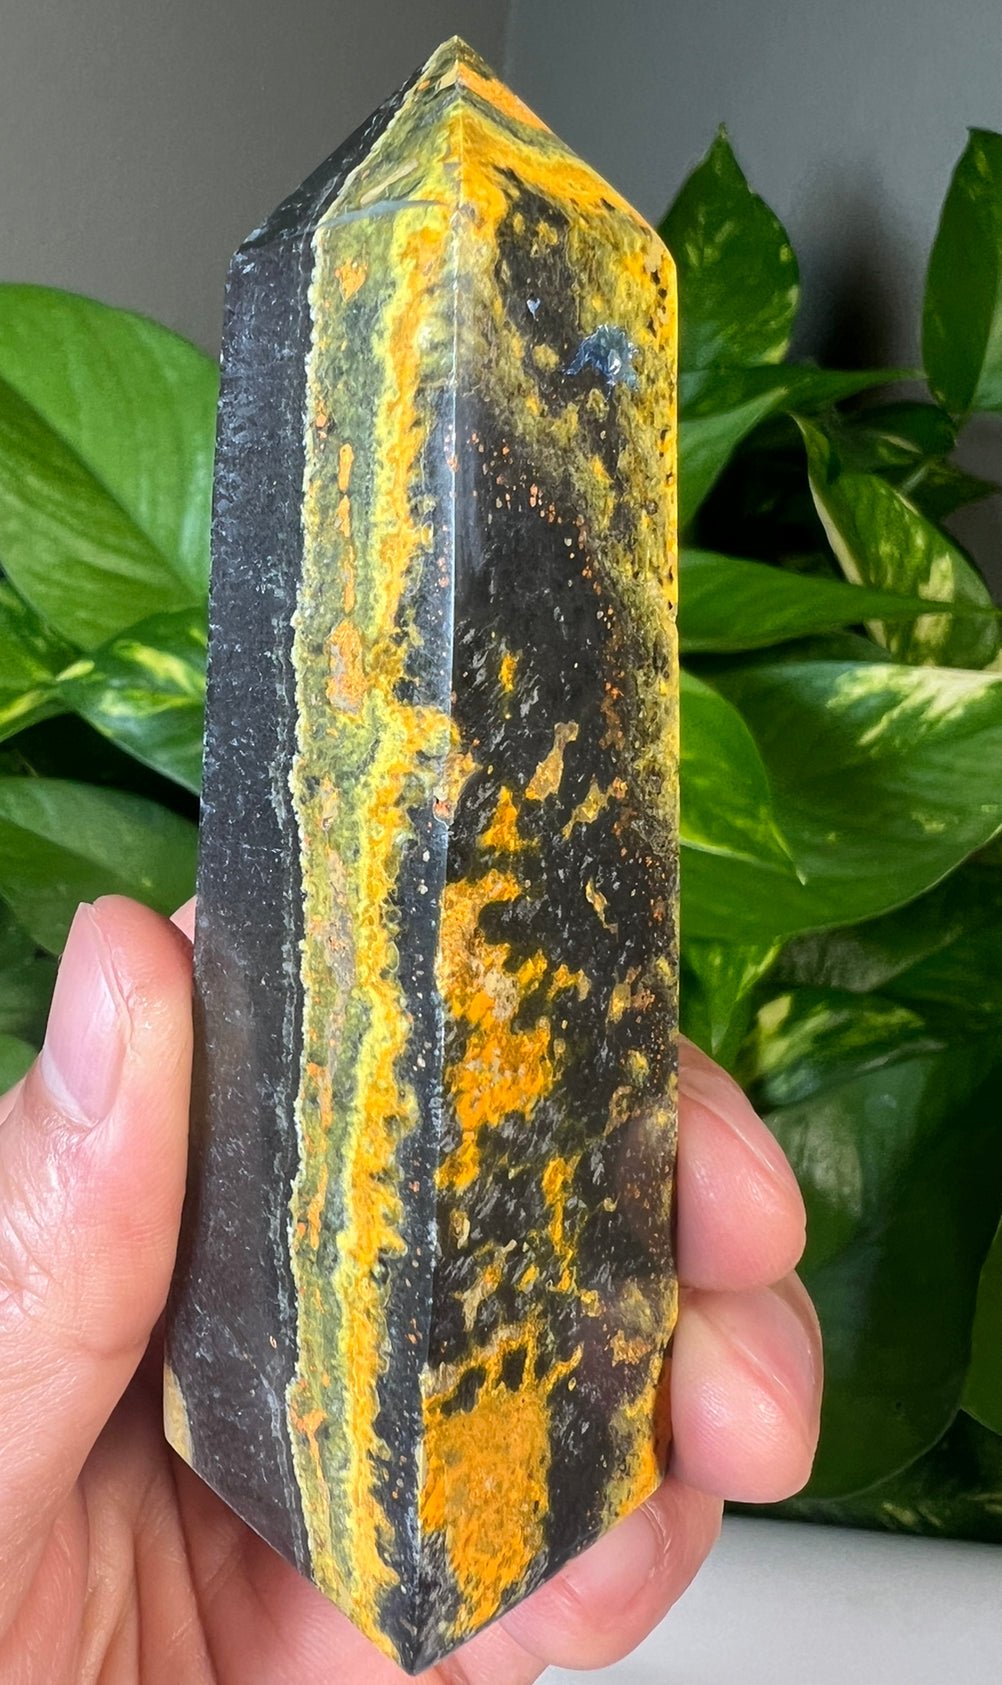
A large statement piece can carry the bottom layer on its own. The Large Crazy Lace Agate Necklace gives you a bold, textured pendant to pair with finer chains above it.
Texture adds visual interest, but it also adds friction. A rope chain next to a box chain grips more than two smooth chains.
- Fine chain + flat stone = calm, low movement
- Heavy chain + bold pendant = strong bottom layer
- Textured chain next to smooth chain = more grip, less slide
How to Keep Necklaces from Tangling When Traveling
Travel is where most layered sets meet their match. A loose pile in a bag turns into a knot before you reach your destination.
The fix is separate storage. Use a necklace stand at home and a divided jewelry box with individual compartments on the road.
A travel routine that works:
- Fasten each chain before packing it, so the clasp cannot catch a neighbor
- Lay each necklace in its own pouch or compartment
- Keep the heaviest pendant in its own slot
For a set you wear often, keep it assembled on a stand. Hang each layer on its own hook. Separate storage is the single best way to prevent tangles between wears.
Troubleshooting Tangles, Twists and Skin Sensitivity
Some tangles happen mid-day, not in storage. A chain twists when its clasp rotates to the front, and a twist becomes a knot fast. Crystal pieces add a wrinkle: a heavy stone keeps pulling on the knot while you work, so the tangle tightens instead of loosening.
Separate a tangle without damaging the chain or stone
Do not pull the chains apart. Pulling tightens the knot and can bend a fine link or scratch a softer stone. Work in this order instead:
- Take the set off and lay it flat on a light-colored cloth so you can see each chain.
- Find the loosest loop in the knot and widen it with your fingers or a blunt needle. Never use a sharp pin near a crystal.
- Work one chain free at a time, starting with the finest chain, since it bends most easily.
- Support the pendant with one hand while you untangle with the other. A heavy stone hanging free will pull the knot tighter.
- Stop if a link looks stretched. A jeweler can often close a bent link; forcing it can break it.
For a stubborn knot, a little unscented lubricant on the chain (not on the stone) can help the links slide. Wipe it off afterward, because residue attracts dust and dulls the chain.
Quick fixes during the day
- A clasp that has rotated to the front: let the pendant hang, then gently turn the chain in the direction opposite the twist until the clasp returns to the back.
- A layer that has crossed another: loosen the shorter chain at the clasp and lift it over the longer one rather than pulling it through.
- A pendant that keeps flipping: the chain is too light for the stone. Move that piece to a shorter layer or a heavier chain.
Watch out: never tug a knotted chain by its pendant. The wire wrap or bail takes the force, and that is where crystal jewelry fails first.
Skin sensitivity and crystal care
Skin sensitivity is the other issue worth planning for.
Crystal care matters for a layered set too. Perfume, lotion, and hair products leave residue that dulls a stone and can discolor plated metal.
Our guide to the best crystal earrings for sensitive ears covers metal choices in more depth, and the same logic applies to necklaces.
Watch out: storing a layered set loose in one pouch is the fastest way to turn three chains into one knot. Separate them every time.
Build Your Layered Crystal Set with Oak & Quartz
A layered set works best when each piece earns its place. Start with one anchor choker, add a mid-length pendant, and finish with a statement stone.
At Oak & Quartz, our pieces are made for exactly this kind of styling. You can browse ocean jasper pendants to round out a set or start a new one.

That is the point of working with natural stones. No two are quite the same.
Build slowly. Test each layer. Keep your spacing tight and your storage separate.
Ready to build a stack that stays put? Start with one anchor piece and grow from there.
Frequently Asked Questions
How do you keep two necklaces from tangling when wearing them?
Separate the two chains by at least two inches of length so they sit at different points on your chest, and mix chain weights so one is finer than the other. Fasten both to a single layering clasp at the back so they share one anchor point and cannot cross. Check the clasps are secure before you put them on, and tuck longer chains under clothing if you are moving around a lot.
How do you layer three necklaces without them tangling?
Use three distinct lengths, for example a 16-inch choker, an 18-inch chain and a 20-inch pendant, so each layer has its own space. Put the heaviest pendant on the shortest chain and keep the longest layer the lightest. Test the combination by turning your head and shoulders before you leave the house.
Do necklace layering clasps help prevent tangling?
Yes. A layering clasp holds several chains on one connector at the back of your neck, which stops them from rotating independently and crossing at the nape. Look for a clasp with separate jump rings for each chain so you can attach and remove pieces without undoing the whole set. It also makes a layered crystal set faster to put on and take off.
How do you pack layered necklaces for travel?
Fasten each necklace closed and lay it flat in its own compartment of a jewelry roll or small pouch, with the pendant resting on top of the chain rather than underneath. For a set you wear together, keep it on the layering clasp and coil it loosely around two fingers before storing. Never drop loose chains into one bag, because crystal pendants add weight that pulls fine chains into knots.
